This vegan garlic tear and share bread is wonderful to share with others (or not). Hehe.
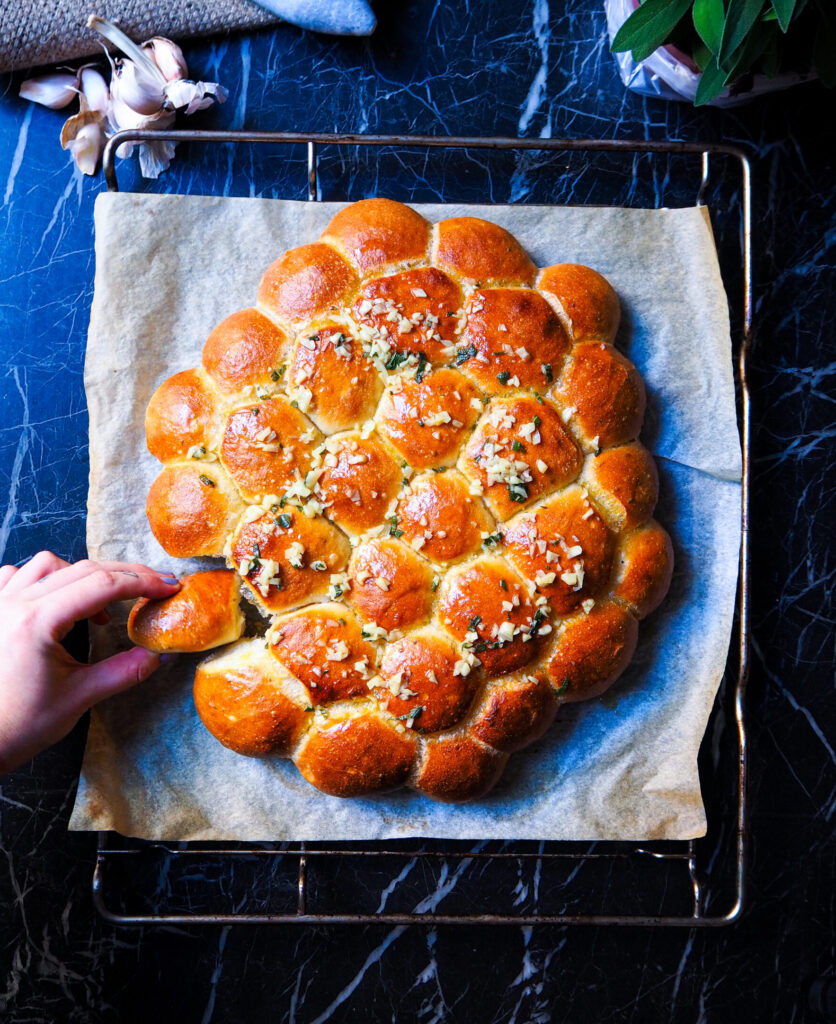
Get it while its hot
Bread baking basics
Baking a bread with conventional yeast (be it fresh or dry) is actually really quite simple. Yes, you need to get your hands a bit dirty. Yes, you need to wait a bit. But all in all, a freshly baked loaf that YOU made is so satisfying. And you’ll feel so proud. The process is mostly passive. Just a bit of waiting and bingo bango bread!
Let’s start with the basics: flour, salt, water, yeast. For this bread you can use bread flour or all purpose flour. Bread flour is just flour with a higher percentage of protein. Because breads with conventional yeast (as opposed to sourdough) take a short amount of time to rise, all purpose flour is fine. The higher protein is necessary for sourdoughs as they rise of long periods of time and the proteins help the dough keep its shape and strength. So, long story short, any flour will do here.
Next up: rising. Rising is a very important step for bread. It develops air pockets, which in turn make a bread nice and fluffy, rather than dense and heavy. The first rise gets a good amount of volume going. You want to see a doubling in size during this first stage. Then you do something called ‘knocking the dough back’. Which just means you get some of the air out or shape it into the shape you want the bread to be. In this case: little balls. Simply take the dough, divide it into even parts, and roll those into little balls. That’s when we do the second rise. To get some air back into the dough, if you skip this, the bread will come out dense.
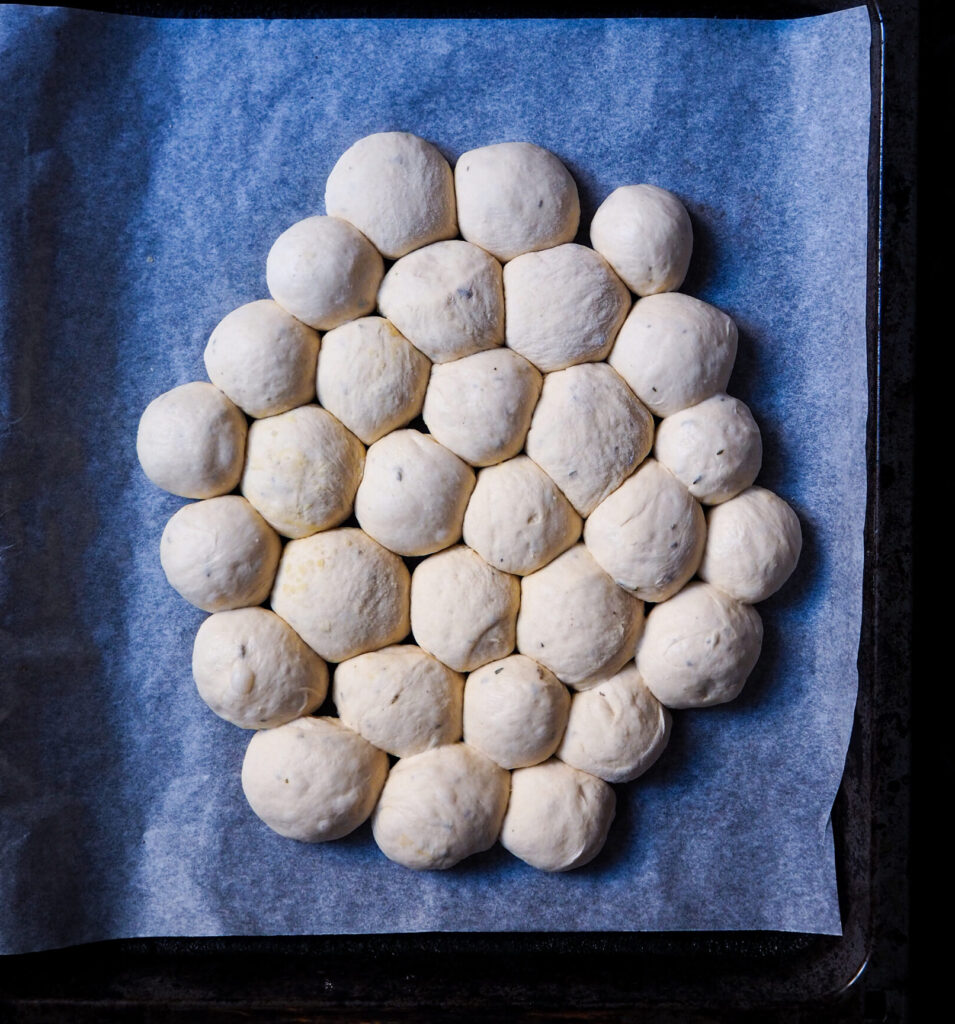
Little dough balls all lined up.
Third important aspect of bread making: during the rising process, you need a warm spot free of any airflow. This because the dough needs a quiet, warm place to develop. The yeast does its work in cosy temperatures. Now, you don’t need to whack on the central heating or anything. Just find a good spot that isn’t draughty. If my flat’s cold, I like to put the dough in the oven with the little light on. The light provides enough warmth and it’s closed from any airflow.
Steam
To get bread to rise and form a crusty crust, it helps to have a bit of steam in the oven when the bread first goes in. This might mean you put an oven tray with some hot water in the bottom of your oven, maybe you have some lava rocks for the barbecue, or just a water spray you use for plants. Getting a bit of steam in when you place the bread in helps the bread rise and the crust not to set too early.
I am an advanced baker, so I have my own set up that involves lava rocks, boiling water, covering the oven. All to get that steam going. But, I understand that might not be you, so just spraying a bit of water and then quickly closing the oven will absolutely do.
For this vegan garlic tear and share bread you can decide whether you’d like a more crusty roll or a soft bread roll. If you opt for crusty, use the steaming method and a higher heat: 250C for the first 10 minutes, remove the steam and bake for 10 more at 220C.
If you decide on a softer roll, pop the bread into the oven at 220C for roughly 20 minutes, until golden brown.
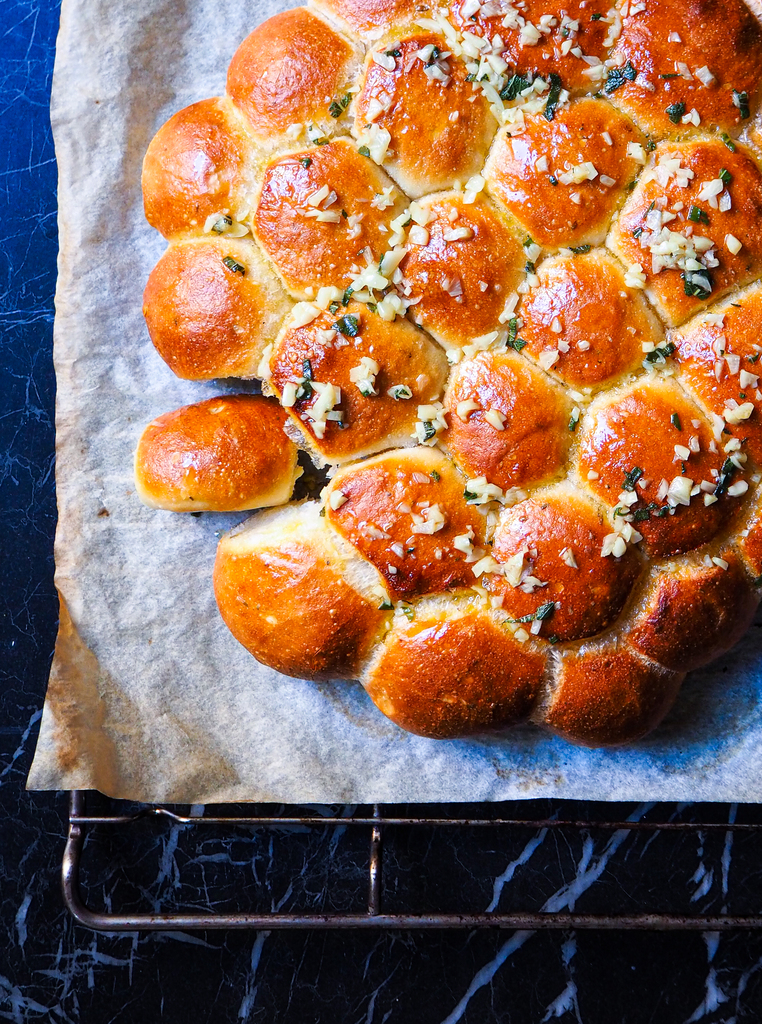
Up close and personal.
Enjoy your vegan garlic tear and share bread! Perhaps with some White Bean Garlic Oil Dip?
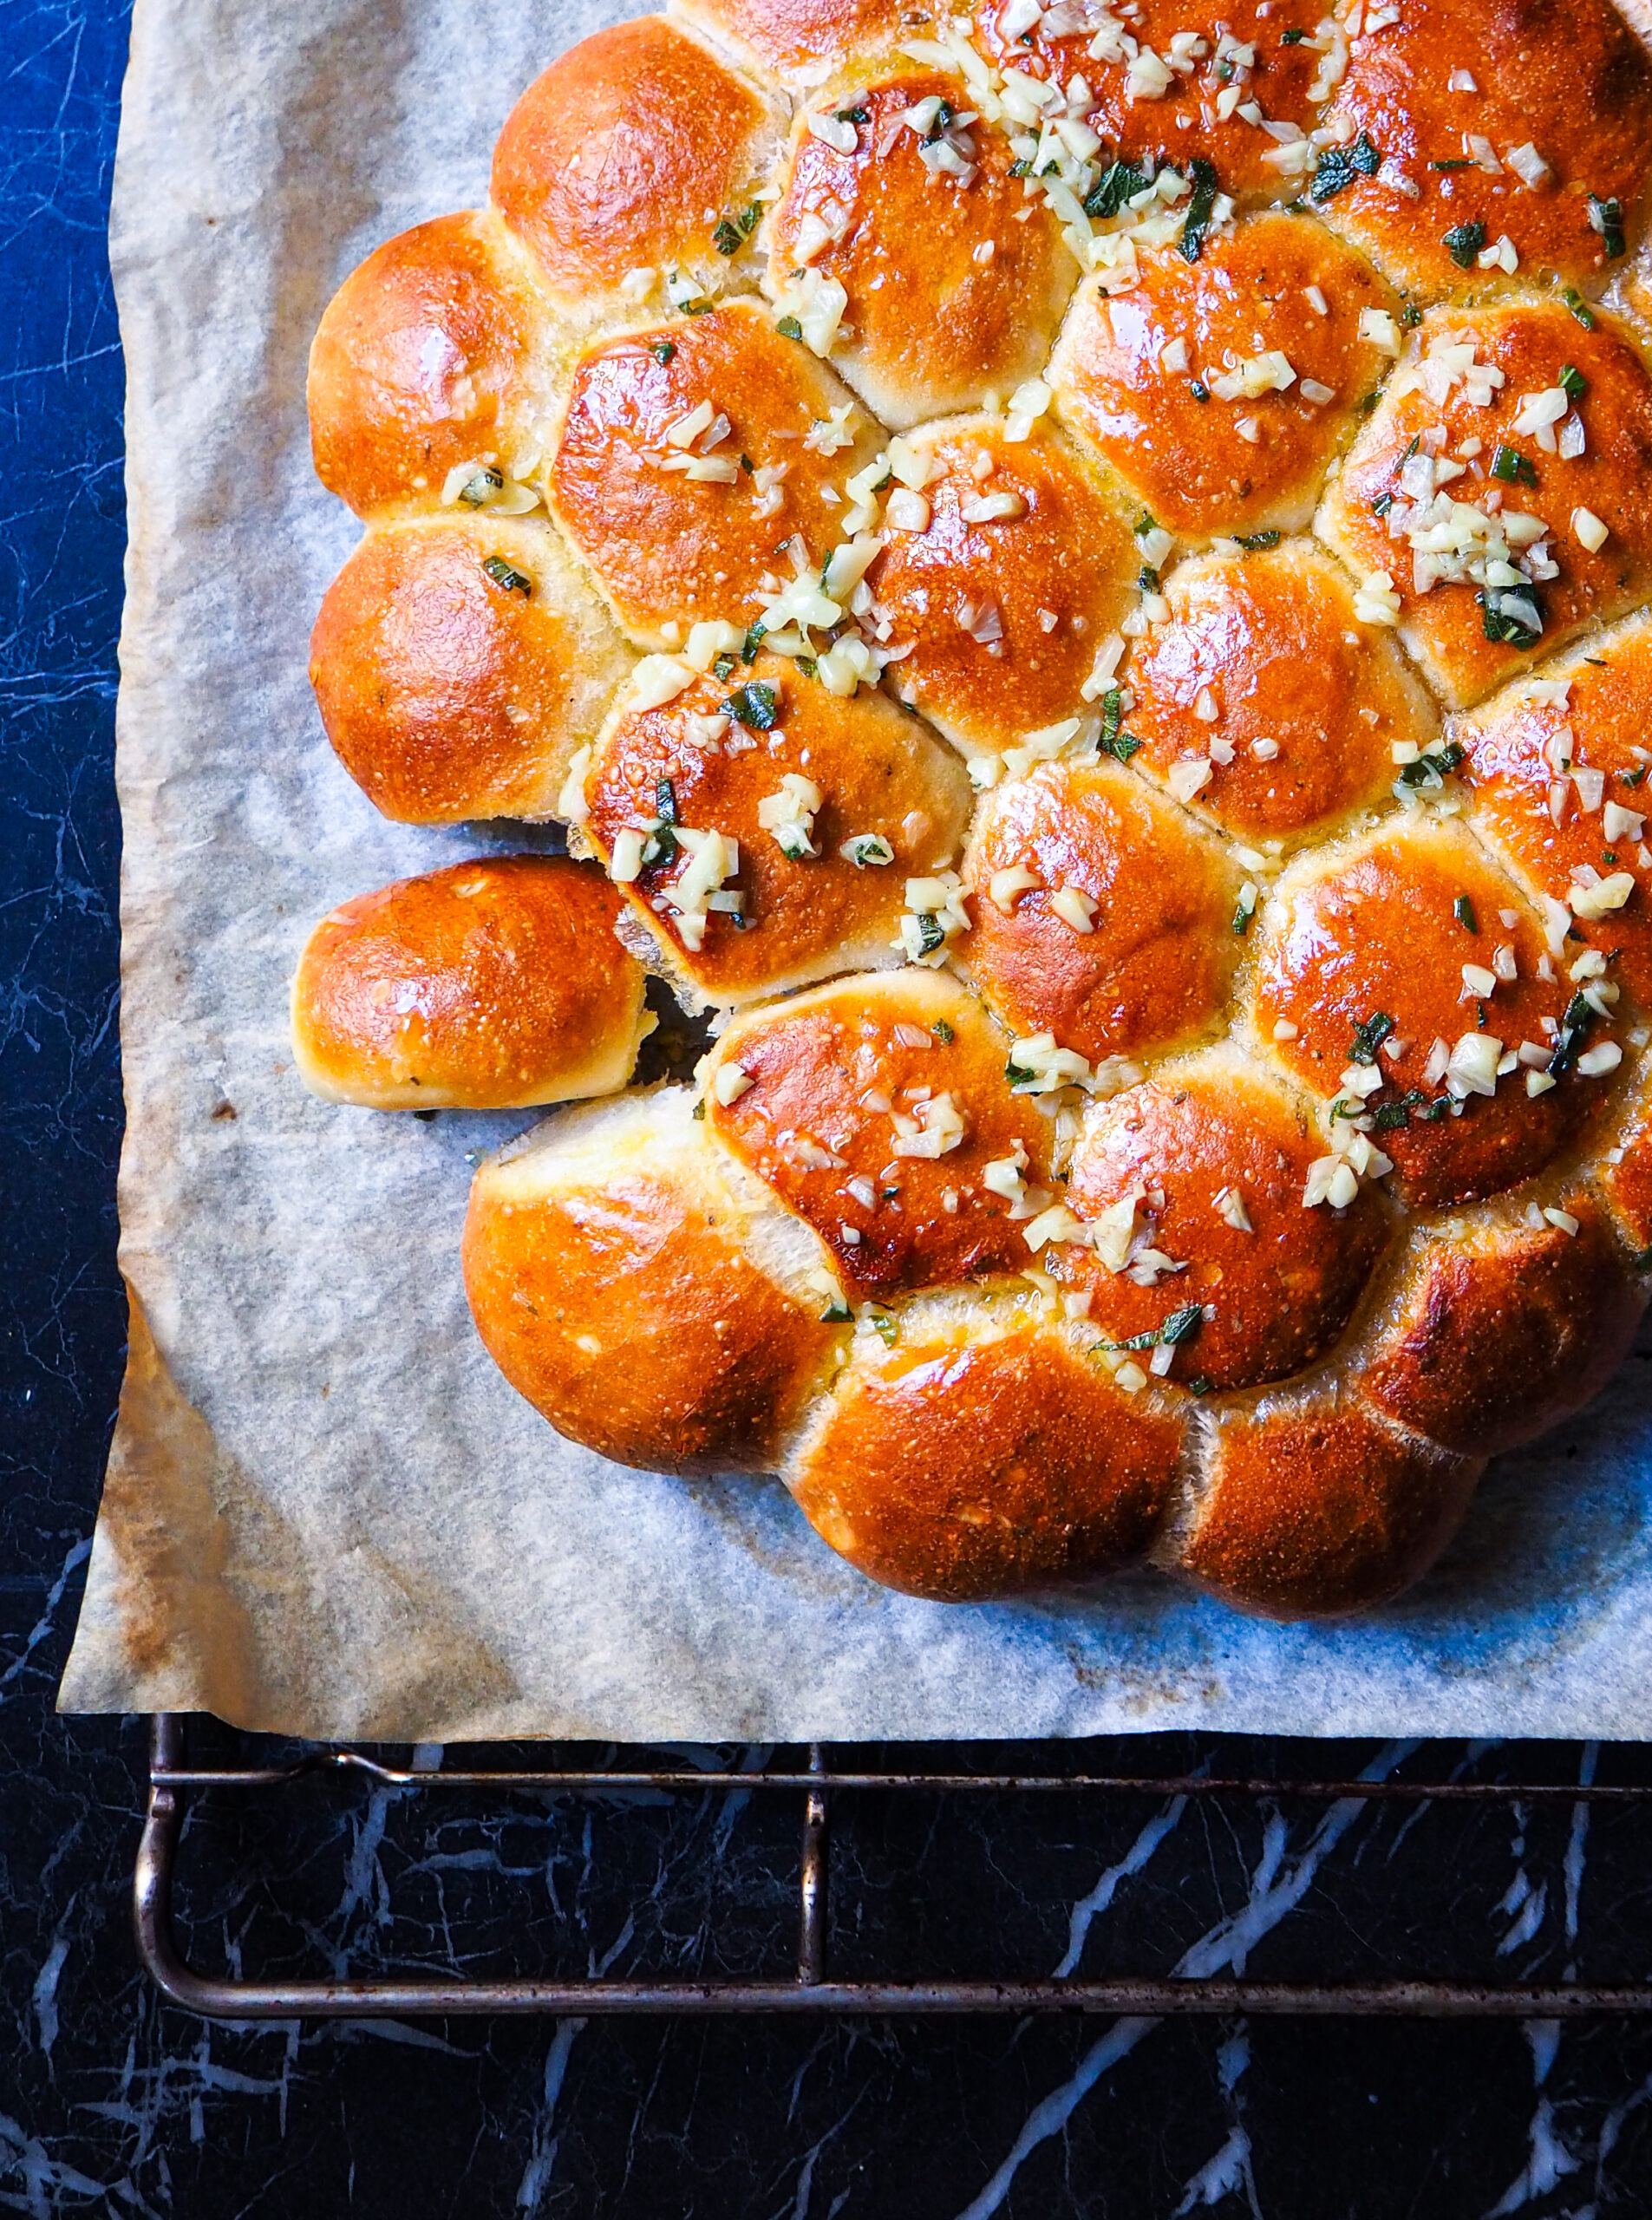
Vegan Garlic Tear & Share Bread
Equipment
- oven
- Scale
Ingredients
- 800 grams flour bread flour or all purpose
- 520 grams water
- 20 grams fresh yeast if using dry yeast: 10 grams
- 16 grams salt
- 1 tbsp olive oil
- 1 tbsp dried garlic 10 grams
- 1 tbsp thyme 10 grams
- 2 tbsp vegan butter o margarine
- 2 large cloves of garlic, minced 4 small cloves
- handful fresh sage sub thyme if you don't have sage
Instructions
- In a bow, combine the flour, salt, water, yeast and olive oil.
- mix all of the ingredients. once it starts coming together knead for 5 to 8 minutes until a smooth dough.
- oil the bowl, cover with a damp towel and place the bowl in a warm spot in your house. in winter, i like placing it in the oven with the light on.
- after an hour, or once more or less doubled in size, divide into more or less equally sized balls and place next to each other on a lined baking sheet.
- leave for another hour.
- Option A: steaming method for crustier rolls. preheat the oven to 250 C (480 F) degrees. If possible with a tray of hot water in the bottom of the oven. place the bread in the oven. after 10 minutes, remove the hot water and reduce the heat to 220 C (440 F). Bake for 10 more minutes until golden brown.
- Option B: softer rolls (& easier). Bake at 220C (440F) for 20 minutes until golden brown.
- on a low heat, melt the butter and add the minced garlic. add the sage or thyme.
- pour over the bread after baking and dig in!




Terrible results so far.. I was already dubious about the huge volume of water this recipe called for. I added about 1/4 less and still ended up with a bowel of what resembled watery porridge. I had to add about 1/4 more flour just to make a dough which could be handled and even then it was terribly sticky. It will be interesting to see if this does rise, since it doesn’t call for any sugar….
SUCCESS! proved really well! A wee over baked, but delicious and soft on the inside and a good crust on the outside. Substituted the margarine for olive oil (to avoid consuming environmentally and socially destructive palm oil) and rosemary instead of thyme with no problem. Delicious! Thank you.
Hi Shaun,
I am very happy to hear it turned out well in the end! Some flours, depending on where you live, absorb more or less water, so it might differ because of that.
I fully support subbing olive oil for margarine if you can’t find any without palm oil of course!
Happy baking!